📑 Table of Contents
1. Introduction: Learning to Swim is a Magic Journey
If you are looking for a structured, scientific, and step-by-step method to learn how to swim from scratch, you have come to the right place. Learning to swim is not just about finding a fun recreational sport for hot summer days. In reality, swimming is an invaluable, lifesaving survival skill that protects you and those around you from water-related accidents. This comprehensive beginner swimming guide is designed and refined from over 10 years of coaching experience by certified instructors at Swim For Life Vietnam.
For absolute beginners, open water or a deep pool can look like a scary obstacle course filled with the danger of choking. However, when you approach water mechanics using sports science and follow proper teaching progressions, you will discover that swimming is a beautiful art of coordination between breath control in the lungs and mechanical movements of the limbs. This guide will hold your hand through every phase, from stretching on land to gliding smoothly and breathing easily in deep water.
A structured approach helps cut your self-teaching time by 50% while preventing classic technical mistakes that waste energy. Think of this as an exciting journey to explore your body’s potential in a completely new physical environment. Let’s get started!
2. Preparation: Essential Gear and Rules
Up to 30% of your success in swimming lessons is determined by your preparation. A common beginner mistake is eating a heavy meal too close to pool time. When your stomach is full, the high hydrostatic pressure of water pressing against your chest and abdomen can easily cause nausea or acid reflux. Conversely, starving yourself before diving in will rapidly deplete your blood sugar, leaving you weak, dizzy, and exhausted after just 10 minutes of active swimming.
The ideal recommendation by professional coaches is to eat a light, easily digestible carbohydrate meal (such as a ripe banana, a slice of toast, or a warm cup of cereal) about 45 minutes to 1 hour before getting into the pool. This supplies sufficient muscle glycogen for sustained effort without weighing down your stomach.
Choosing a hygienic pool is equally critical. Look for pools with modern water circulation filters using ozone or salt-water chlorination to protect sensitive skin and eyes. Pools with high chlorine concentrations cause burning eyes, sinus irritation, and anxiety, which can severely ruin a beginner's experience during those first few crucial days.
3. Swim Gear: Goggles, Caps, Buoyancy Aids, and Suits
To support your progress and ensure safety, high-quality swimming equipment is a necessity. Proper swim gear acts as safety equipment and aids in the biomechanical alignment of your movements:
- Swim Goggles: Your primary shield protecting eyes from bacteria and pool chemicals. Snug, anti-fog goggles allow you to see clearly underwater, eliminating fear of the deep end and helping you observe the coach's demonstrations.
- Swim Cap: Keeps hair away from your eyes and mouth when breathing, while reducing drag in the water.
- Kickboards & Back Floats: Excellent transitional tools. A back float strapped around your waist provides lift for your hips, while a kickboard supports your upper body so you can focus entirely on leg kick mechanics.
- Proper Swimwear: Choose sleek, form-fitting suits made from 4-way stretch fabric. Avoid loose cotton shorts or standard T-shirts as they absorb massive amounts of water, causing heavy drag and pulling you down.
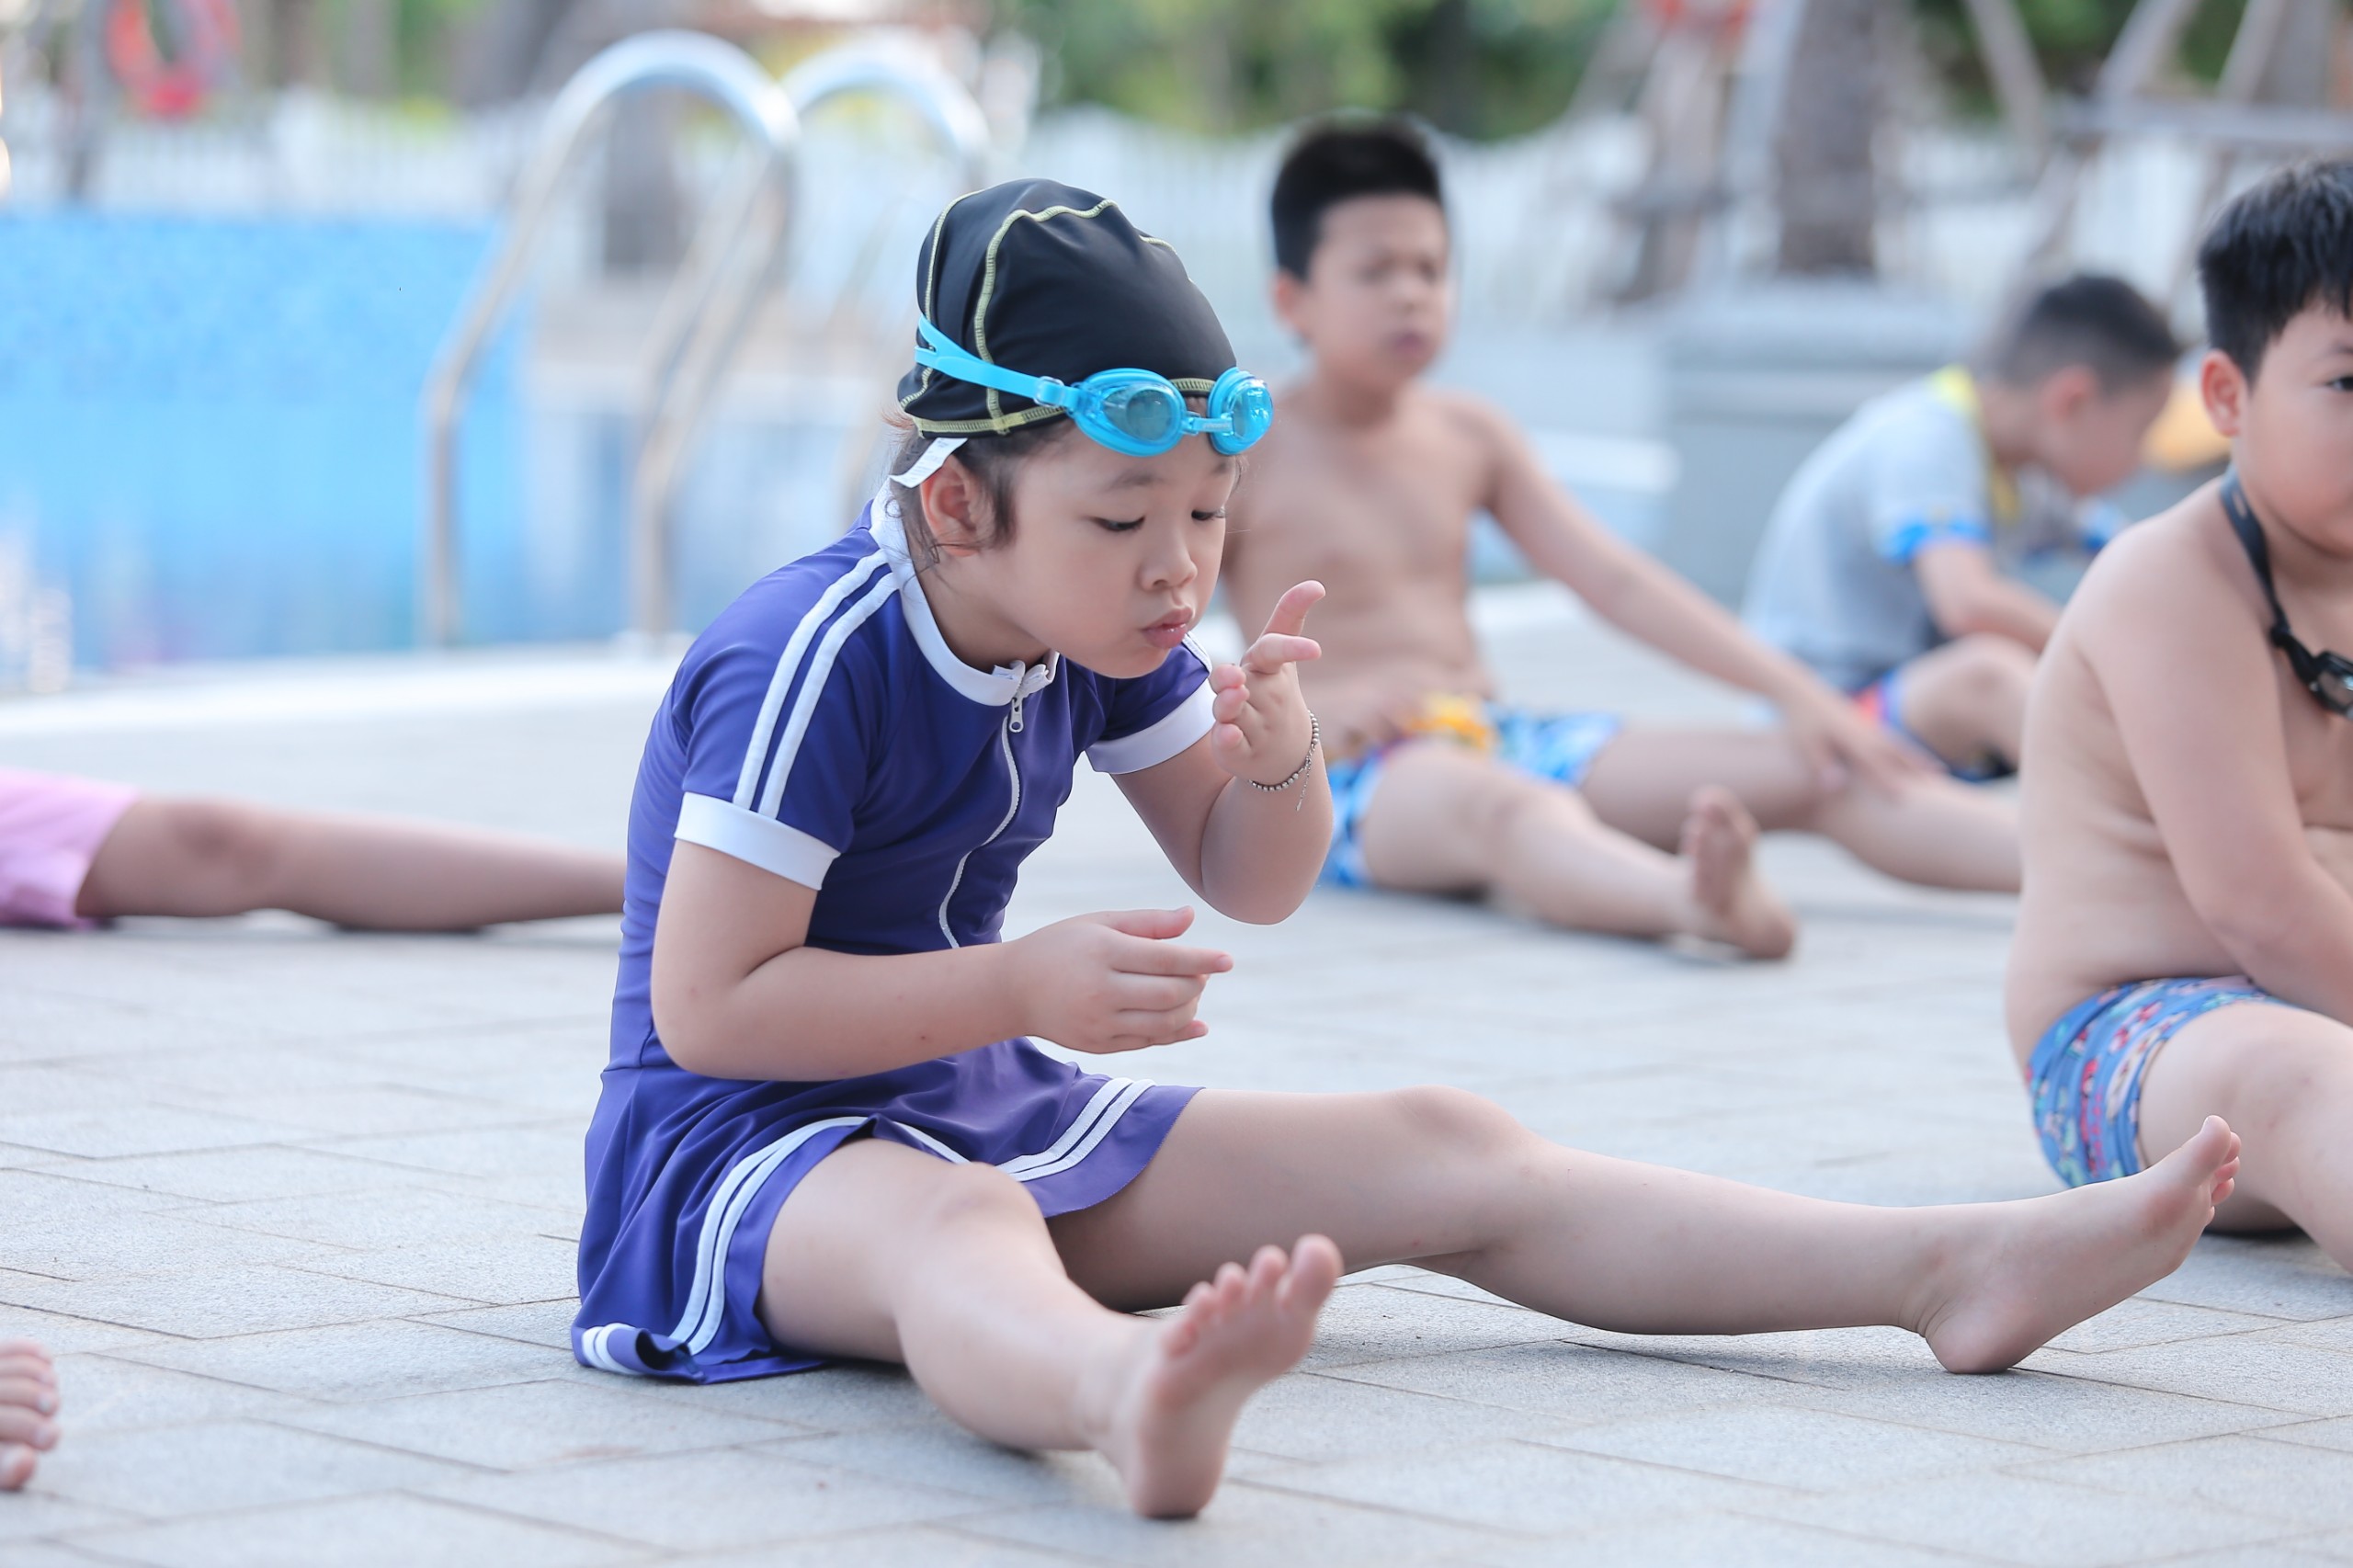
4. Dry Land Warm-up: A Mandatory Safety Ritual
A warm-up is a mandatory safety ritual that Coach Nguyen Huy Manh always requires students to complete for 10 to 15 minutes before touching the water. Warm-ups raise your heart rate gradually, pump oxygen-rich blood to key muscle groups, and lubricate your joints with synovial fluid, preventing shocks from the cold pool water.

Basic stretching exercises include: rotating wrists and ankles, arm circles for shoulder mobility, hip rotations, knee flexions, and groin/hamstring stretches. Skipping the warm-up and jumping straight into the pool can cause thermal shock and sudden muscle spasms, which can lead to life-threatening cramps. Make warming up an automatic self-preservation habit.
5. Overcoming the Fear of Deep Water in Adults
Fear of deep water is the biggest psychological barrier causing adult learners to quit. This fear is a natural survival instinct when facing a low-gravity, oxygen-deprived environment. To overcome it, you must approach the water through physical science rather than vague anxiety.
According to Archimedes' principle, the human body has a density close to that of water. This means that when your lungs are filled with air, your body will automatically float horizontally near the surface without any kicking. Gulling or tensing your muscles in fear actually increases your body's overall density, causing you to sink. Relaxing your neck and shoulders, taking deep, calm breaths, and trusting the water's natural buoyancy will quickly help you master your balance.
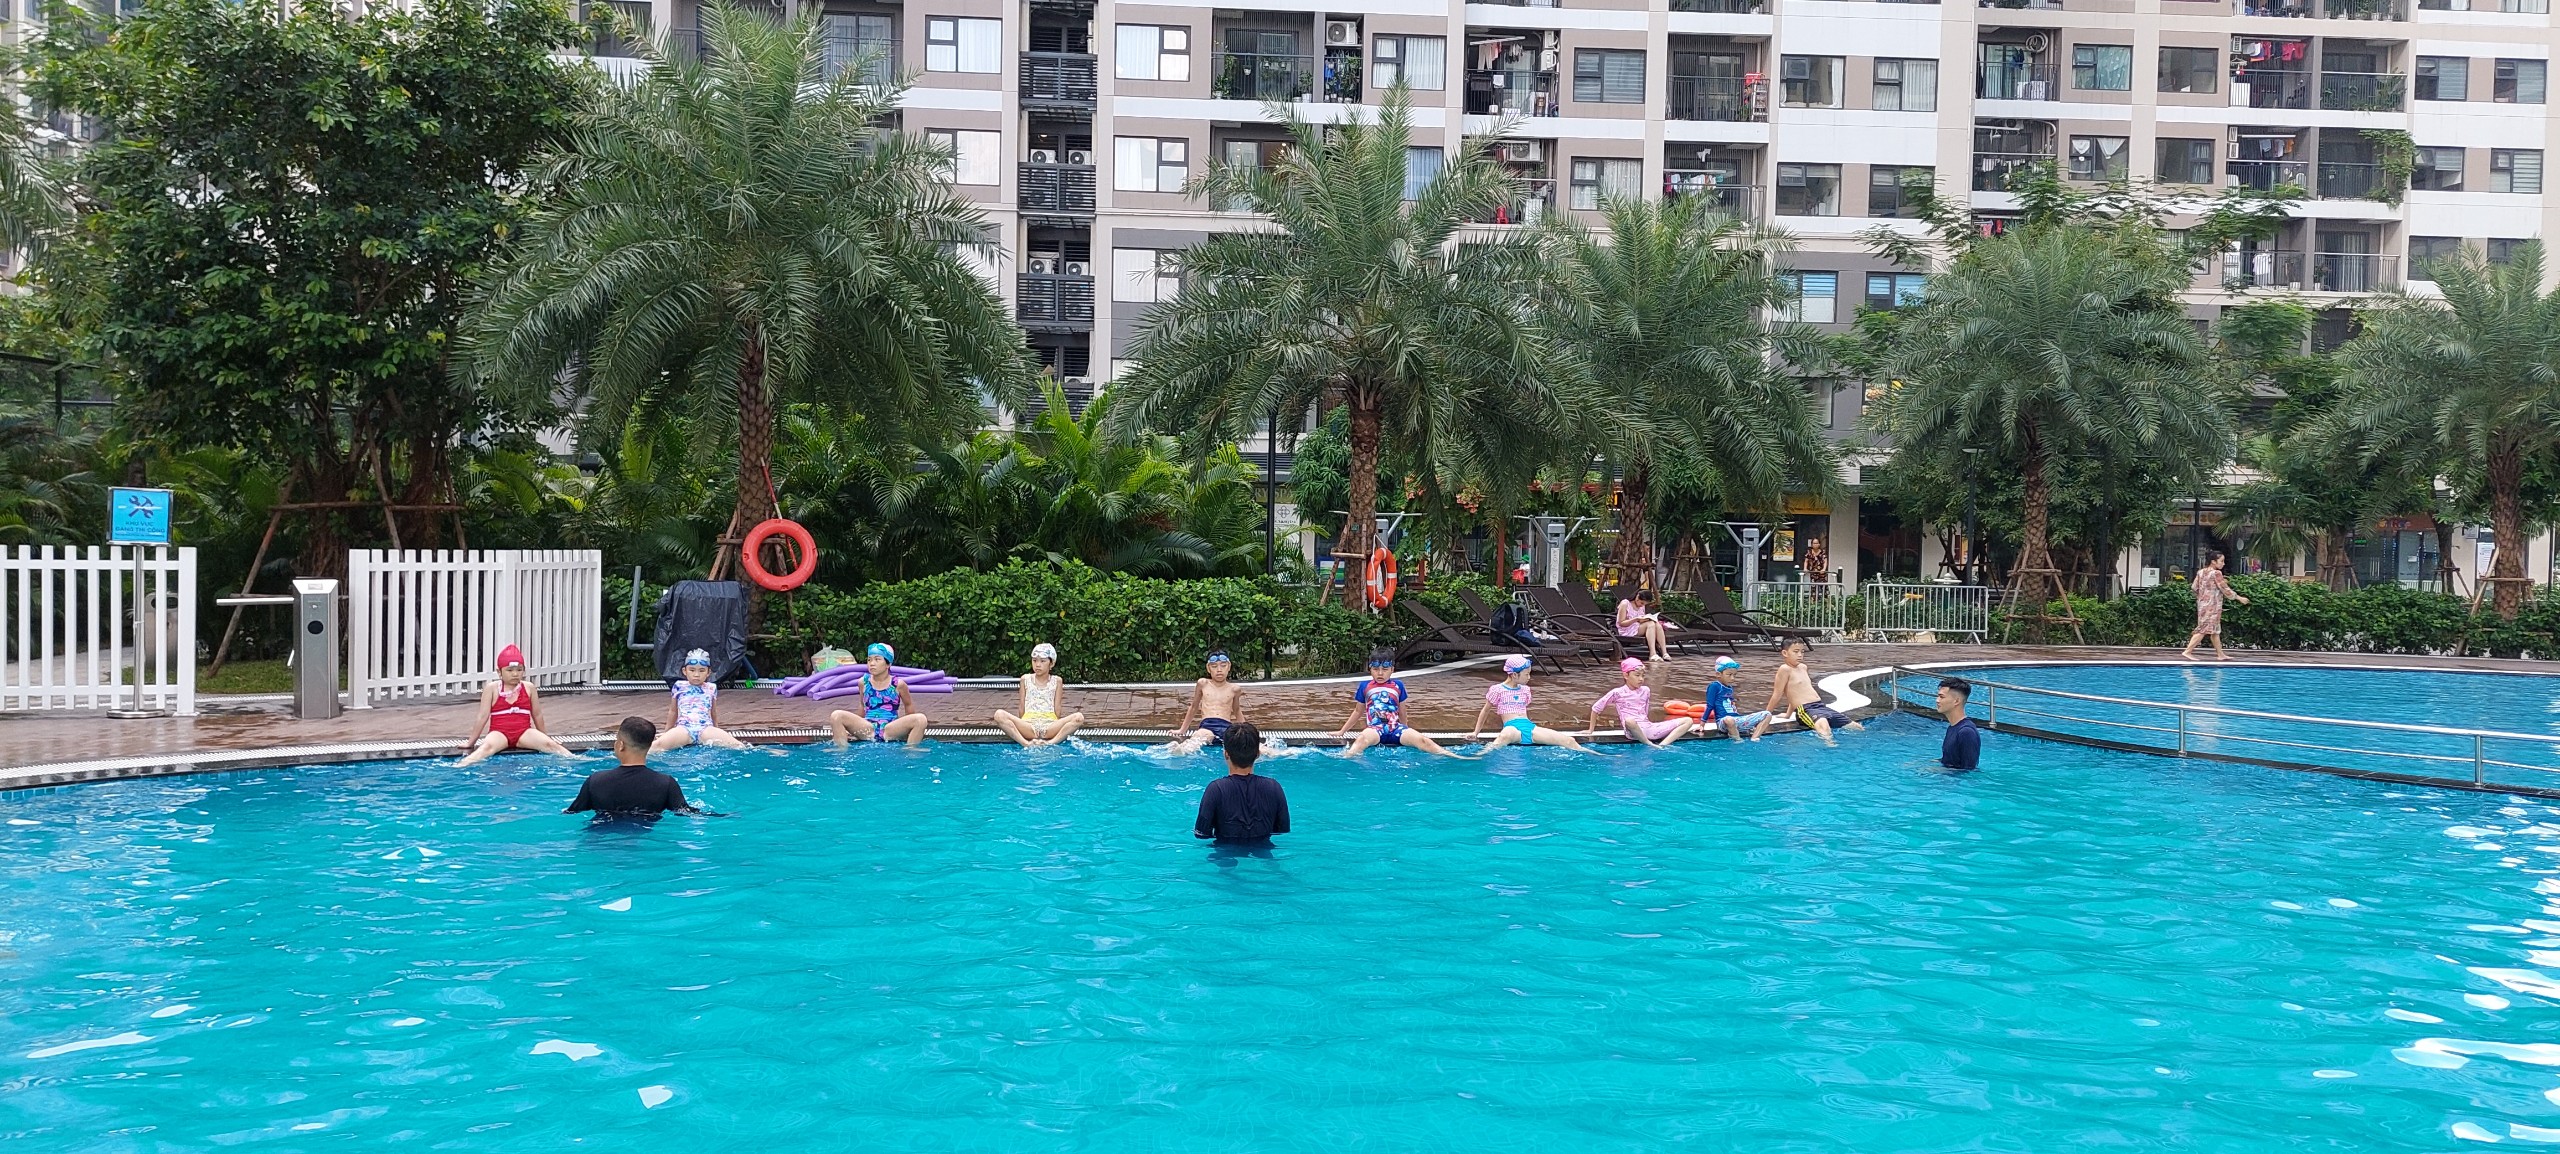
6. Step 1: Getting Used to the Water in the Shallow End
The first step in any effective learn-to-swim program is acclimatization in the shallow end (where water is only waist or chest deep). Hold onto the pool gutter with both hands, bend your knees slowly, and let the cool water submerge your shoulders. Close your eyes, exhale gently, and feel the buoyancy lifting your hips and legs.
You can walk slowly along the edge, splash water onto your face and chest, and let your body adapt to the temperature. This phase trains your central nervous system to perceive the water as a safe environment, building confidence before moving on to breathing drills and locomotion.
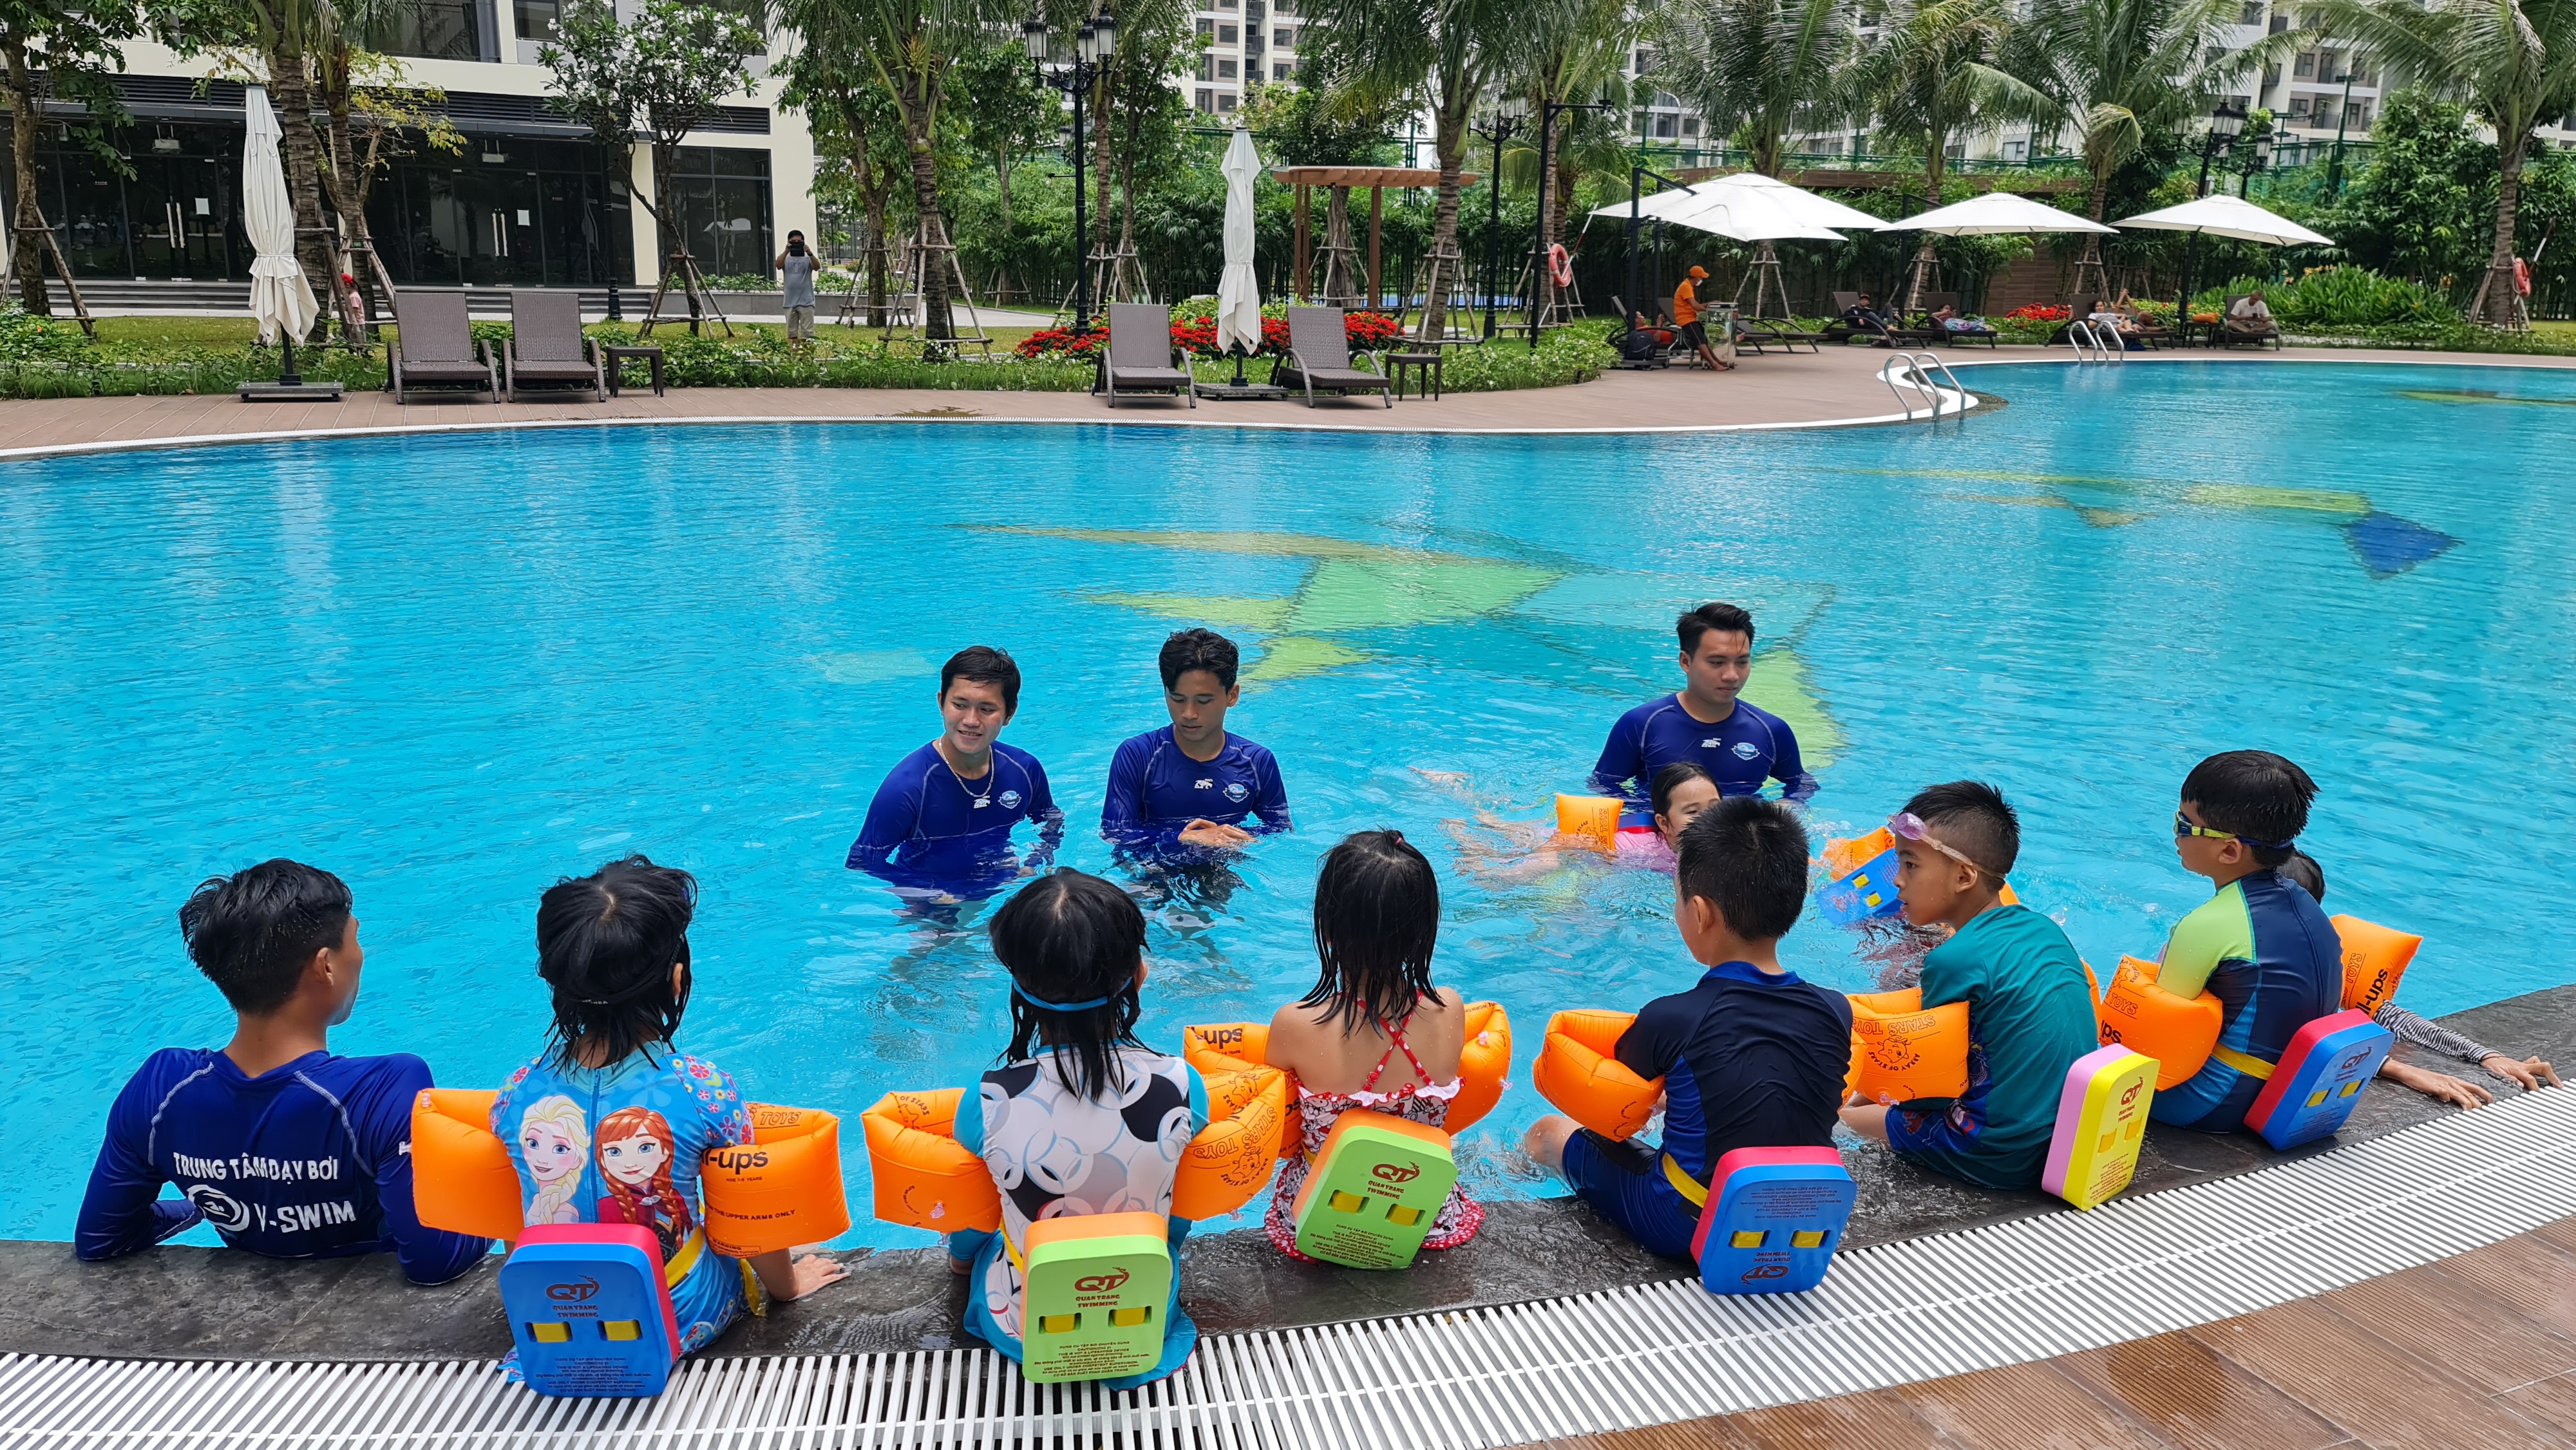
7. Step 2: Lifesaving Skill - Breathing in Water
Breathing in the water is the exact opposite of breathing on land, and it is the absolute key to swimming long distances without choking or fatiguing. The correct water breathing technique follows a 3-phase cycle:
- Phase 1: Inhale through the mouth on land: Stand in the water, open your mouth wide, and take a quick, deep breath of air through your **mouth** (never inhale through your nose as water can easily enter, causing painful choking).
- Phase 2: Submerge and blow bubbles: Submerge your face, open your eyes through your goggles, and exhale slowly and steadily through your **nose**, creating a continuous stream of bubbles. This exhalation should last 3 to 5 seconds to expel all CO2.
- Phase 3: Rise and inhale: Gently lift your head until your mouth clears the surface, quickly open your mouth to inhale, and immediately repeat the submerge cycle.
Practice this breathing drill 30 to 50 times daily along the shallow wall. This builds the automatic reflex of closing your epiglottis, which is the core foundation of both Breaststroke and Freestyle breathing patterns.
8. Step 3: Front Floating (The Dart Drill)
Once breathing becomes an automatic reflex, transition to floating on your front, also known as the "dart drill". Stand with your back against the pool wall in the shallow end, take a deep breath through your mouth, and submerge your face. Reach your arms forward, lock your elbows, place your hands together, and extend your legs straight behind you.
Relax your shoulders and neck completely, allowing the water to support you. You will be amazed to see your body float horizontally like a dart. When you run out of breath, simply pull your knees to your chest, press your hands downward against the water to lift your head, and plant your feet firmly on the pool floor.
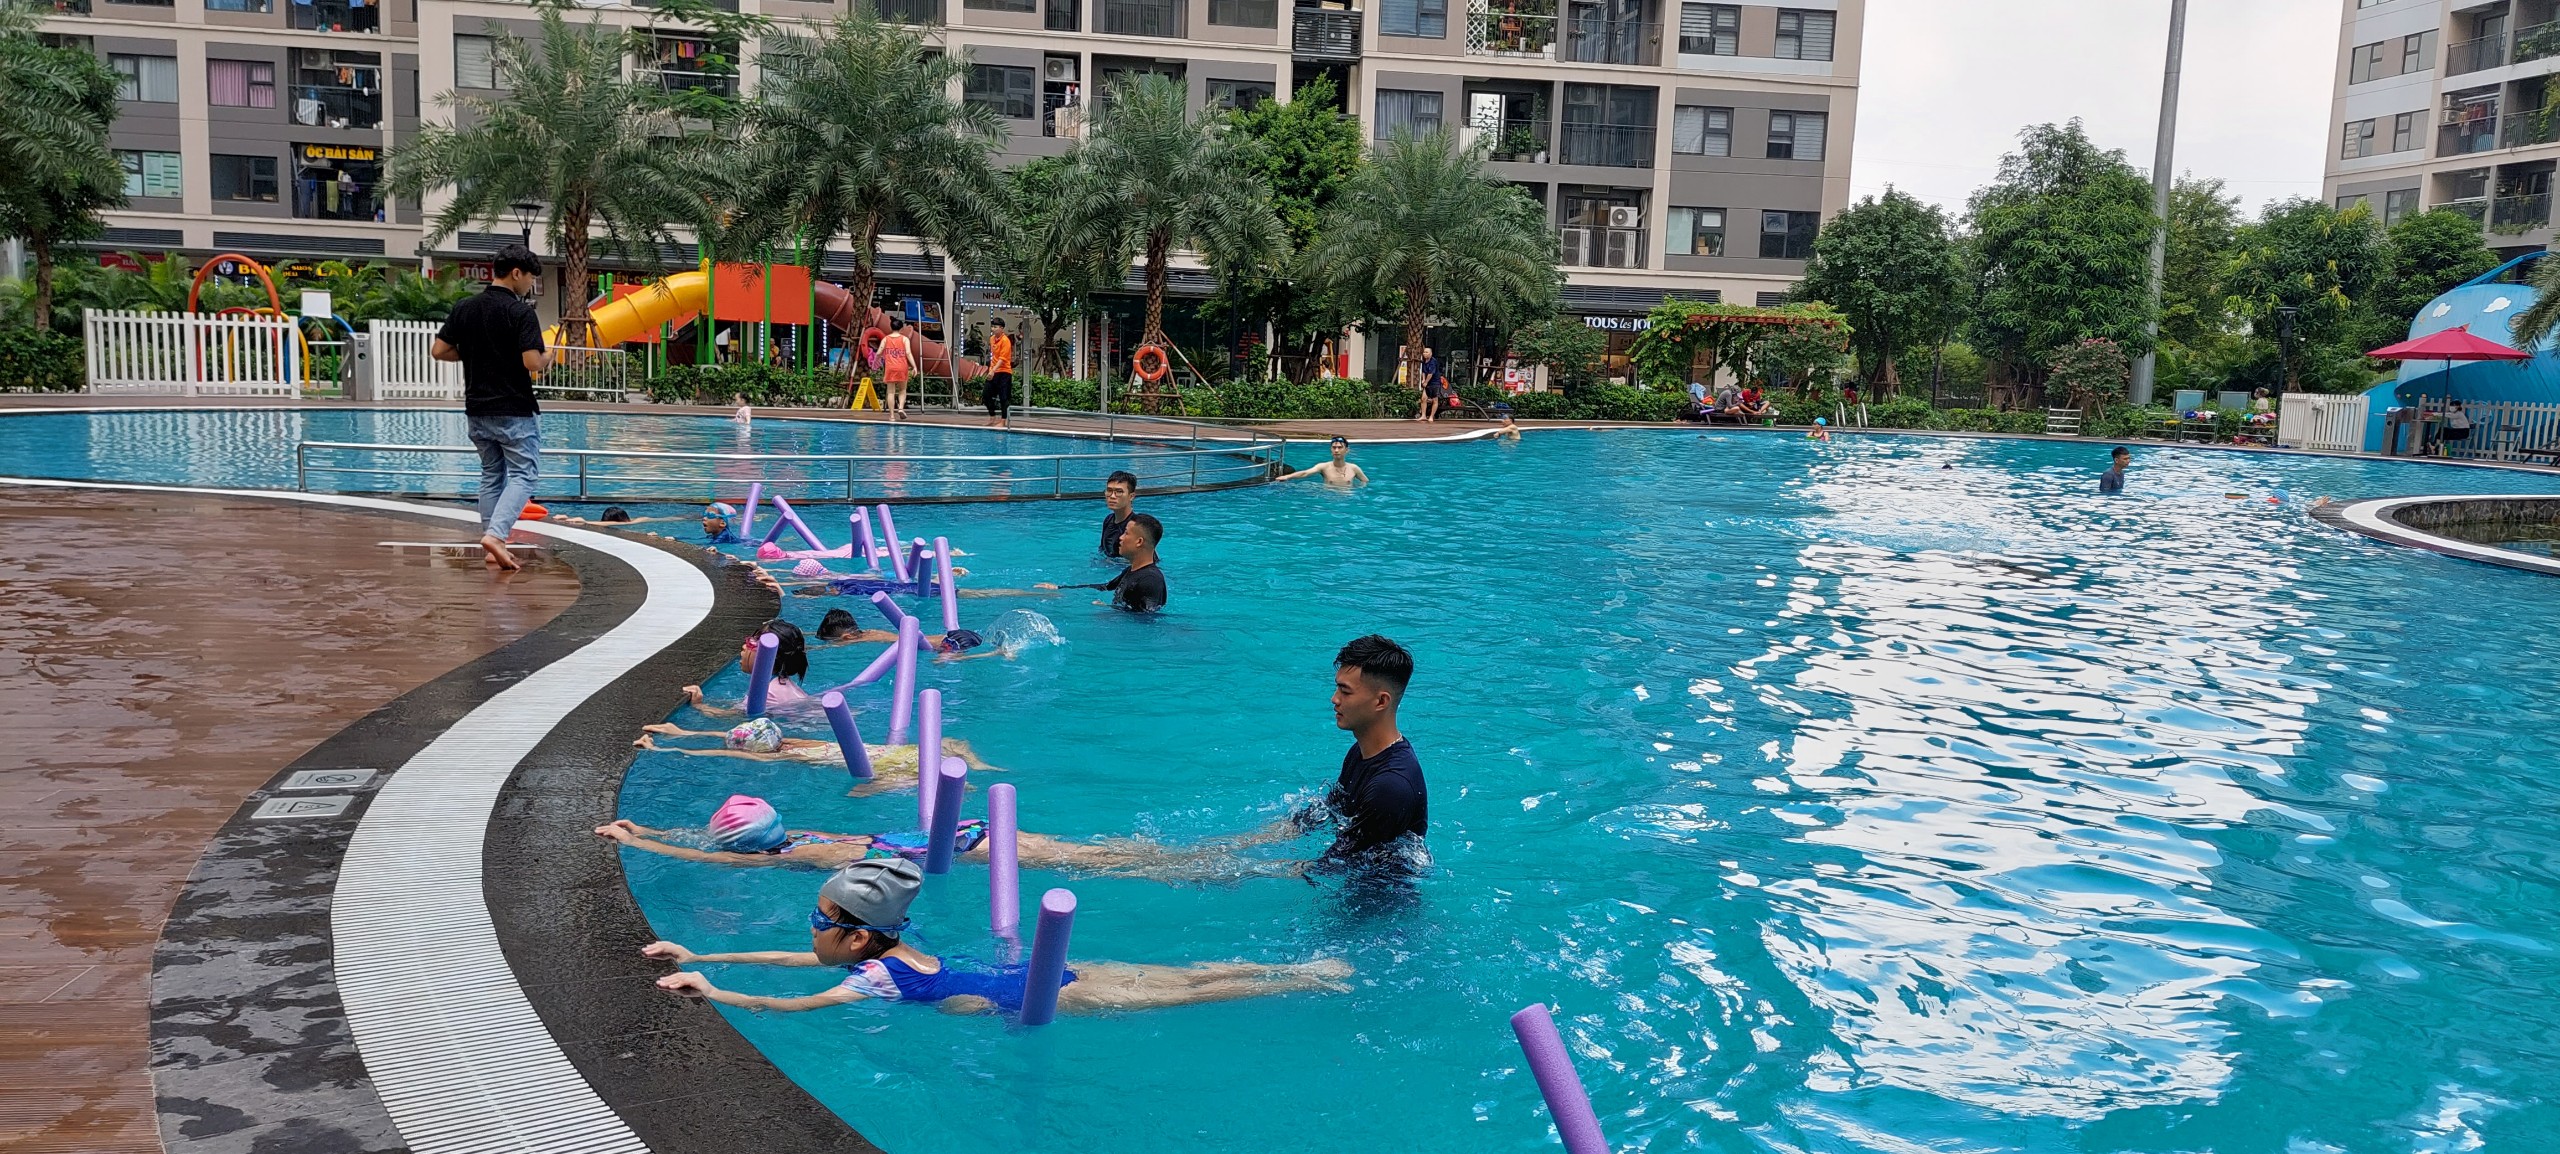
9. Step 4: Streamlined Gliding for Efficiency
Gliding helps students build dynamic balance - the ability to maintain a straight, horizontal body position while moving forward. This is key to eliminating mechanical drag in the water.
To practice the glide, place one foot against the shallow pool wall, submerge your face between your outstretched arms, and push off the wall. Hold a tight streamline position (head tucked, arms squeezed against ears, legs locked, toes pointed) and feel your body slice through the water. Repeat this glide until you can travel 3 to 5 meters effortlessly without any kicking or pulling.
10. Step 5: Breaststroke Kick - The Main Engine
Breaststroke is the most beginner-friendly style because of its symmetrical, easy-to-coordinate movements. The legs act as the main engine, producing 70% of the propulsion. The breaststroke kick consists of 4 distinct phases:
- Recovery (Draw): Bend your knees and draw your heels slowly toward your glutes. Do not pull your knees forward under your stomach, as this creates massive frontal resistance.
- Feet Flex (Flex): Flare your feet outward with ankles flexed in a V-shape, preparing your soles to grip and push the water.
- Kick (Whip Kick): Drive your legs outward and backward in a whip-like circular path.
- Glide (Glide): Immediately squeeze your legs together, pointing your toes, to ride the momentum.
Hold onto the pool gutter or hug a kickboard to practice this kick until each whip drives you forward at least 1.5 meters. Refer to our detailed breaststroke guides to correct your form.
11. Step 6: Breaststroke Arm Pull - Directional Steering
While the arm pull only provides 30% of breaststroke propulsion, it is crucial for steering and creating the lift needed to raise your shoulders and mouth out of the water to inhale. The pull is like drawing a small heart shape in front of your chest:
Start with arms extended, palms facing outward at a 45-degree angle. Sweep your hands outward just past shoulder-width, then sweep them inward, squeezing your elbows to your chest. Bring your hands together under your chin and shoot them straight forward back into the streamline. Never pull your hands past your shoulders, as this sinks your hips and ruins your streamline.
1 coordinate: Step 7: Coordinating Pull, Kick, and Breath
Putting pull, kick, and breath together is the most challenging phase for self-taught swimmers. To keep your rhythm, remember the golden rule: "Pull, breathe, kick, glide. Arms and legs never work at the same time." The cycle goes:
Pull arms to lift head and inhale -> Draw legs as arms recover -> Kick legs and shoot arms forward -> Glide under the surface, face down, exhaling through the nose.
Take it slow and repeat the sequence in your head. Proper timing allows you to swim hundreds of meters comfortably without getting out of breath.
13. Extension: Water Treading and Survival Techniques
Once you can swim short distances, you must learn how to tread water. Treading water allows you to stay in one spot in deep water to adjust your goggles, locate the pool exit, or rest when exhausted without needing to hold onto the wall.
Treading water combines an alternating circular leg movement (eggbeater kick) with a horizontal figure-8 hand sculling motion near the surface. Mastering treading water and back survival floating is your ultimate safety insurance in open water.
14. Nutrition Guide for Swimmers
Swimming is a full-body workout that burns between 500 and 700 calories per hour depending on intensity. Therefore, proper nutrition is essential for muscle recovery and energy.
Eat fast-absorbing carbohydrates (bananas, sweet potatoes, oats) 45 minutes before swimming. Within 30 minutes after your workout, drink plenty of water and eat clean proteins (chicken breast, beef, eggs, salmon) along with vegetables to rebuild muscles and prevent soreness.
15. Comprehensive Private Swim Lessons at Swim For Life
While self-learning online is great for theoretical preparation, working with a professional coach is the fastest and safest way to learn. A coach can pinpoint and correct your mistakes instantly.