📑 Table of Contents
1. Advice: Should You Teach Yourself How to Swim?
Is it possible to learn how to swim on your own? Yes, it is entirely possible, and many people have learned to swim through self-study, utilizing textbooks, diagrams, and instructional videos. Self-teaching can be a budget-friendly option and allows you to learn at your own pace, free from peer pressure.
However, as professional instructors at Swim For Life, we must emphasize that self-learning swimming requires a high level of discipline, strict adherence to safety rules, and patience. Unlike land sports, water presents unique physical forces and immediate safety risks. The biggest drawback of self-learning is the lack of real-time feedback. You cannot see your own mistakes, such as a dropped hip or incorrect breathing angle, which can quickly become hardcoded muscle memory. If you choose to go down this route, read this guide carefully to keep yourself safe and progress efficiently.
2. Safety Rules: Vital Safety Precautions for Self-Learning
Your absolute priority when learning to swim on your own is **safety**. Never violate these rules under any circumstances:
- Never swim alone: Always practice at a public pool with active lifeguards on duty. Even in a shallow pool, unexpected events like a sudden cramp or hyperventilation can occur. Having a lifeguard or friend nearby is your safety net.
- Stay in the shallow end: Practice only in water that is chest-deep or shallower. You must always be able to stand up comfortably and keep your head above water if you panic.
- Avoid natural open water: Do not practice in rivers, lakes, or oceans. Silt, currents, drop-offs, and temperature changes make open water extremely dangerous for beginners.
- Warm up thoroughly: Spend 10 to 15 minutes stretching on the deck before entering the water to prevent cramps.
3. Preparation: High-Quality Video Tutorials and Guides
Before you even dip a toe in the water, study the mechanics of the stroke. Watching high-quality video tutorials is essential. Look for channels that explain the sports science behind the movements, showing both above-water and underwater angles.
Familiarize yourself with the stroke phases of Breaststroke (the easiest stroke for self-teaching): recovery, flex, kick, and glide. Understanding the physics of how water density acts against your body will prevent you from fighting the water, allowing you to move with it instead.
4. Phase 1: Home Practice - Water Breathing in a Basin
You can actually start your first swimming lesson at home in your bathroom! This is an excellent way to get over water anxiety and master basic breathing mechanics without entering a pool.
Fill a large basin with clean water. Take a deep breath through your **mouth**, submerge your face, and blow bubbles slowly and continuously through your **nose** for 3 to 5 seconds. Lift your face, open your mouth wide to inhale quickly, and submerge again. Repeat this drill 20 to 30 times. This builds the basic respiratory reflex needed for swimming, preventing you from inhaling water through your nose when you practice in the pool.
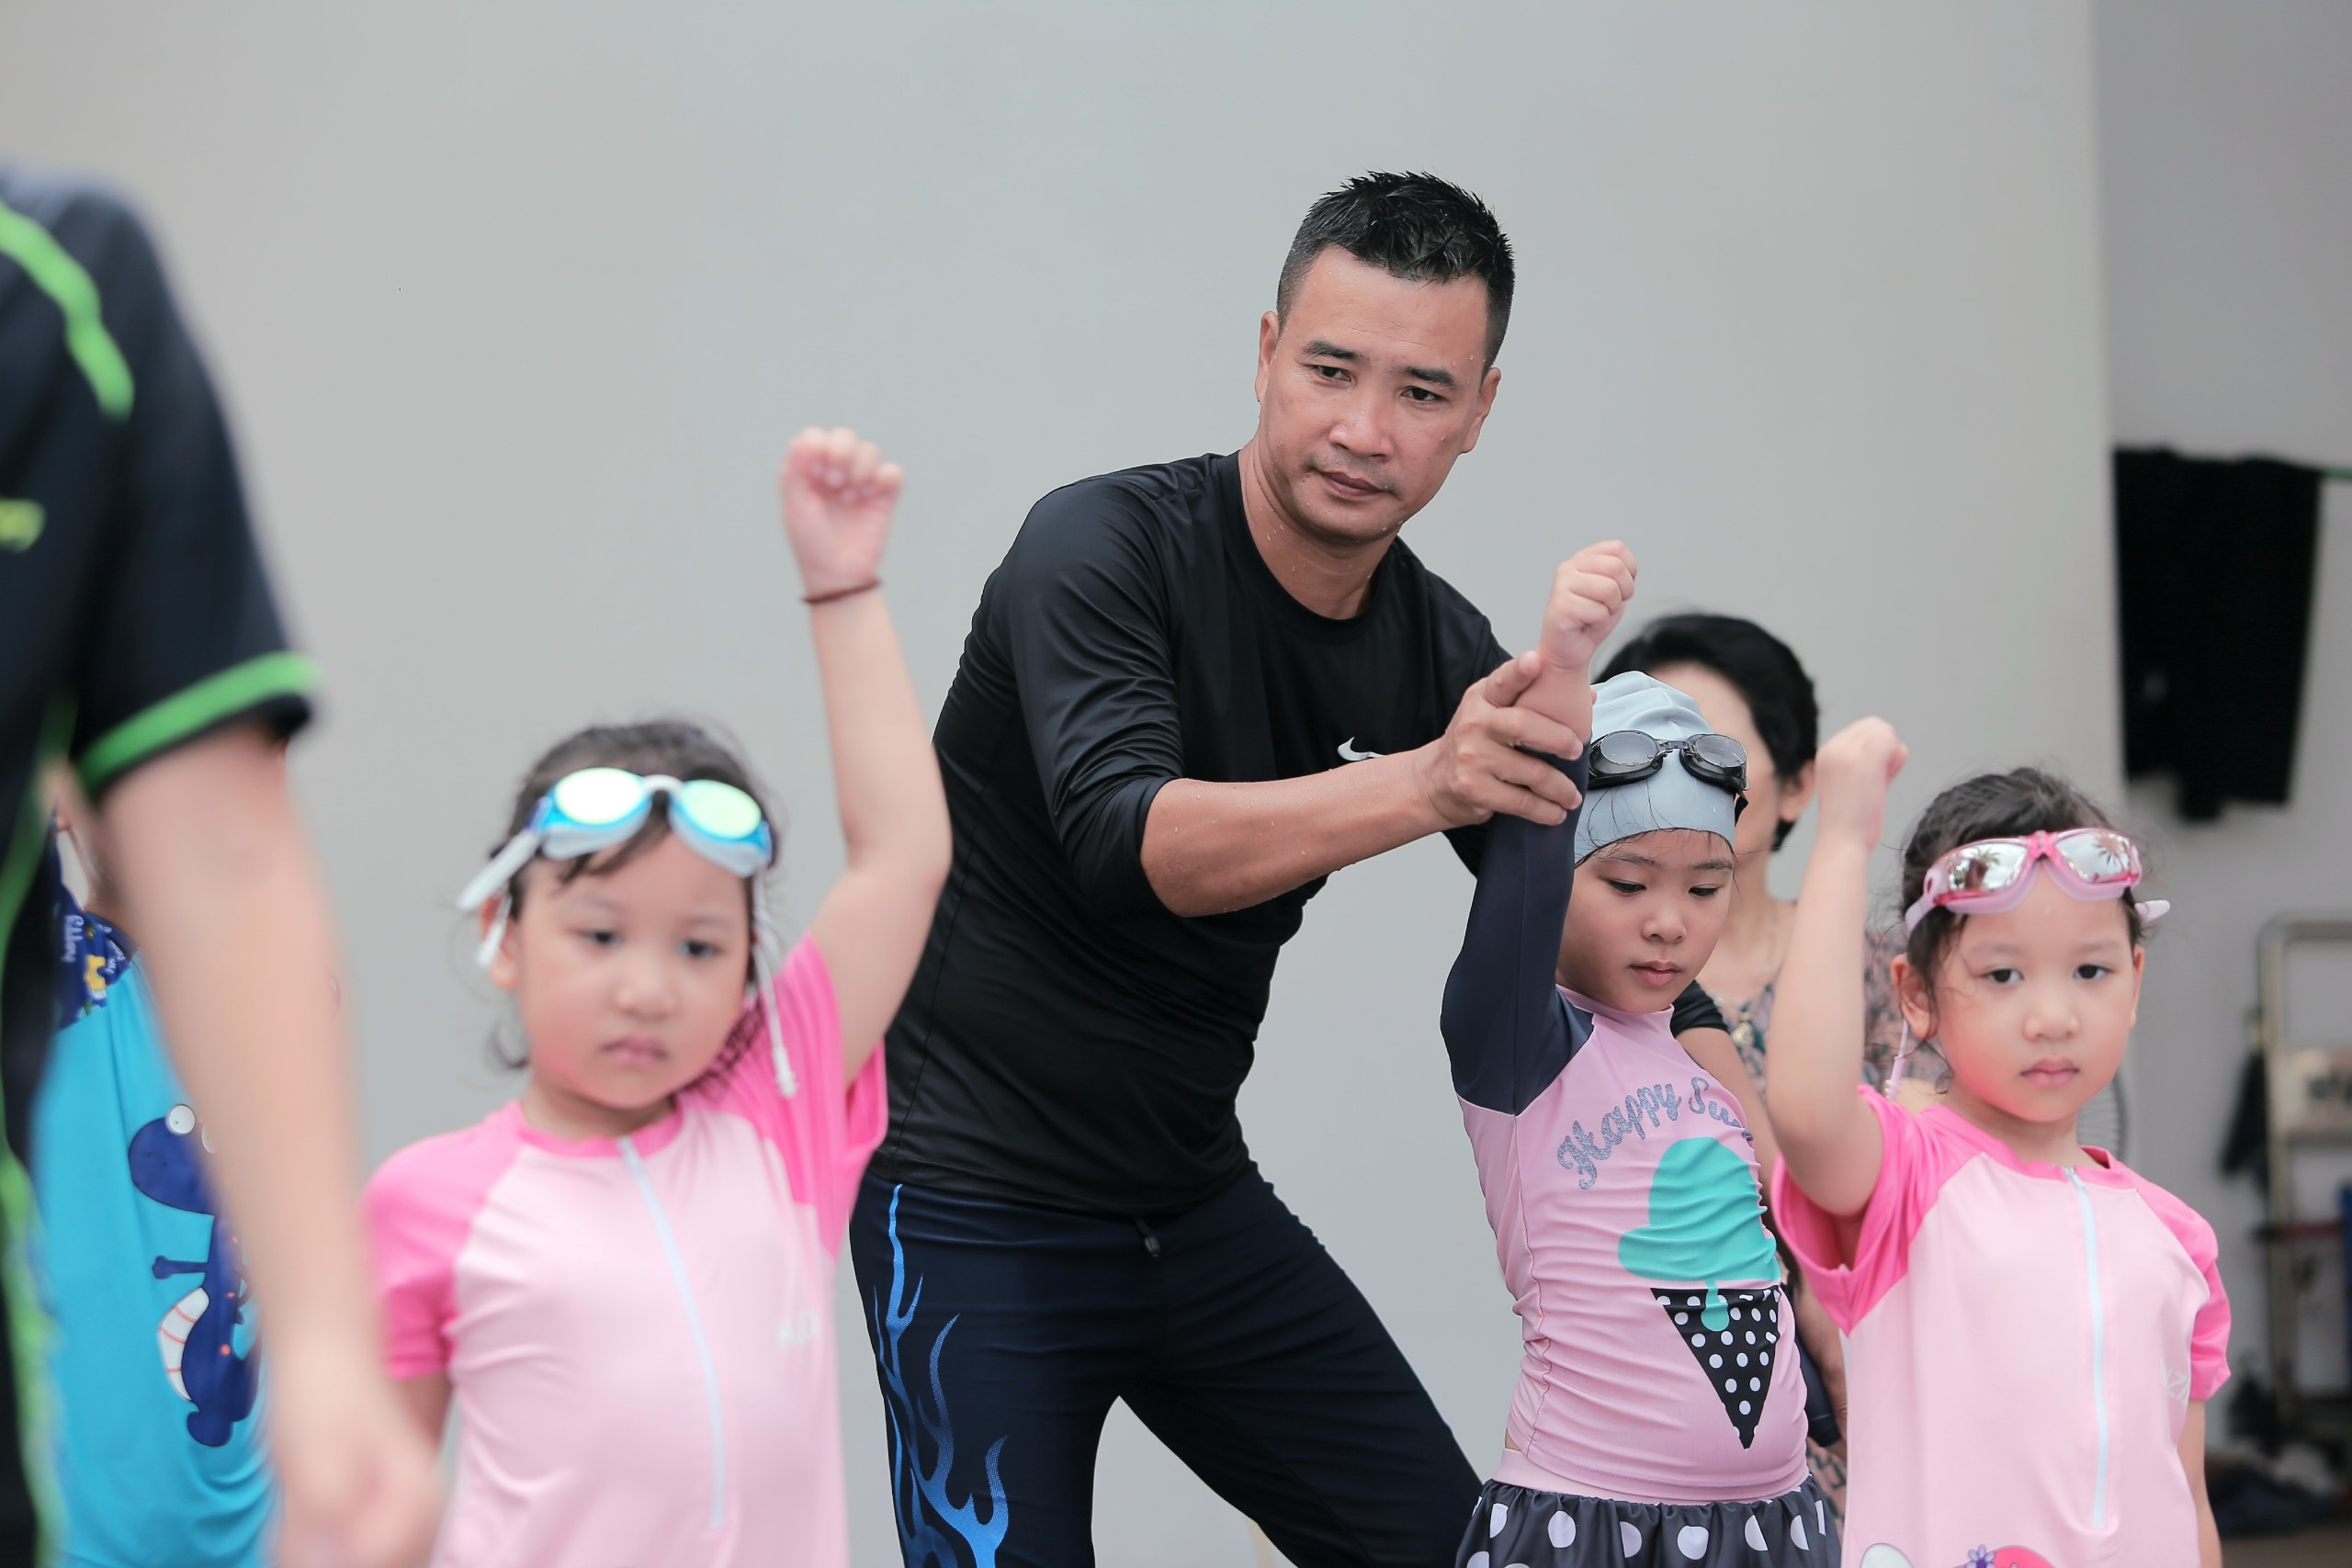
5. Phase 1: Mimicking Arm and Leg Actions on Land
Land simulation helps you program the correct movements into your muscle memory before adding the complexity of water forces. Practice in front of a mirror:
- Arm simulation: Stand up, extend your arms forward, sweep them outward just past shoulder width (palms facing out), pull them in towards your chest, and shoot them forward again. Ensure your hands do not cross behind your shoulder line.
- Leg simulation: Lie face down on a bench or bed. Practice the breaststroke kick sequence: co, bẻ, đạp, khép (draw heels to glutes, flex toes outward, whip kick, and squeeze legs straight). Pause for 2 seconds at the end of each kick to simulate the glide.
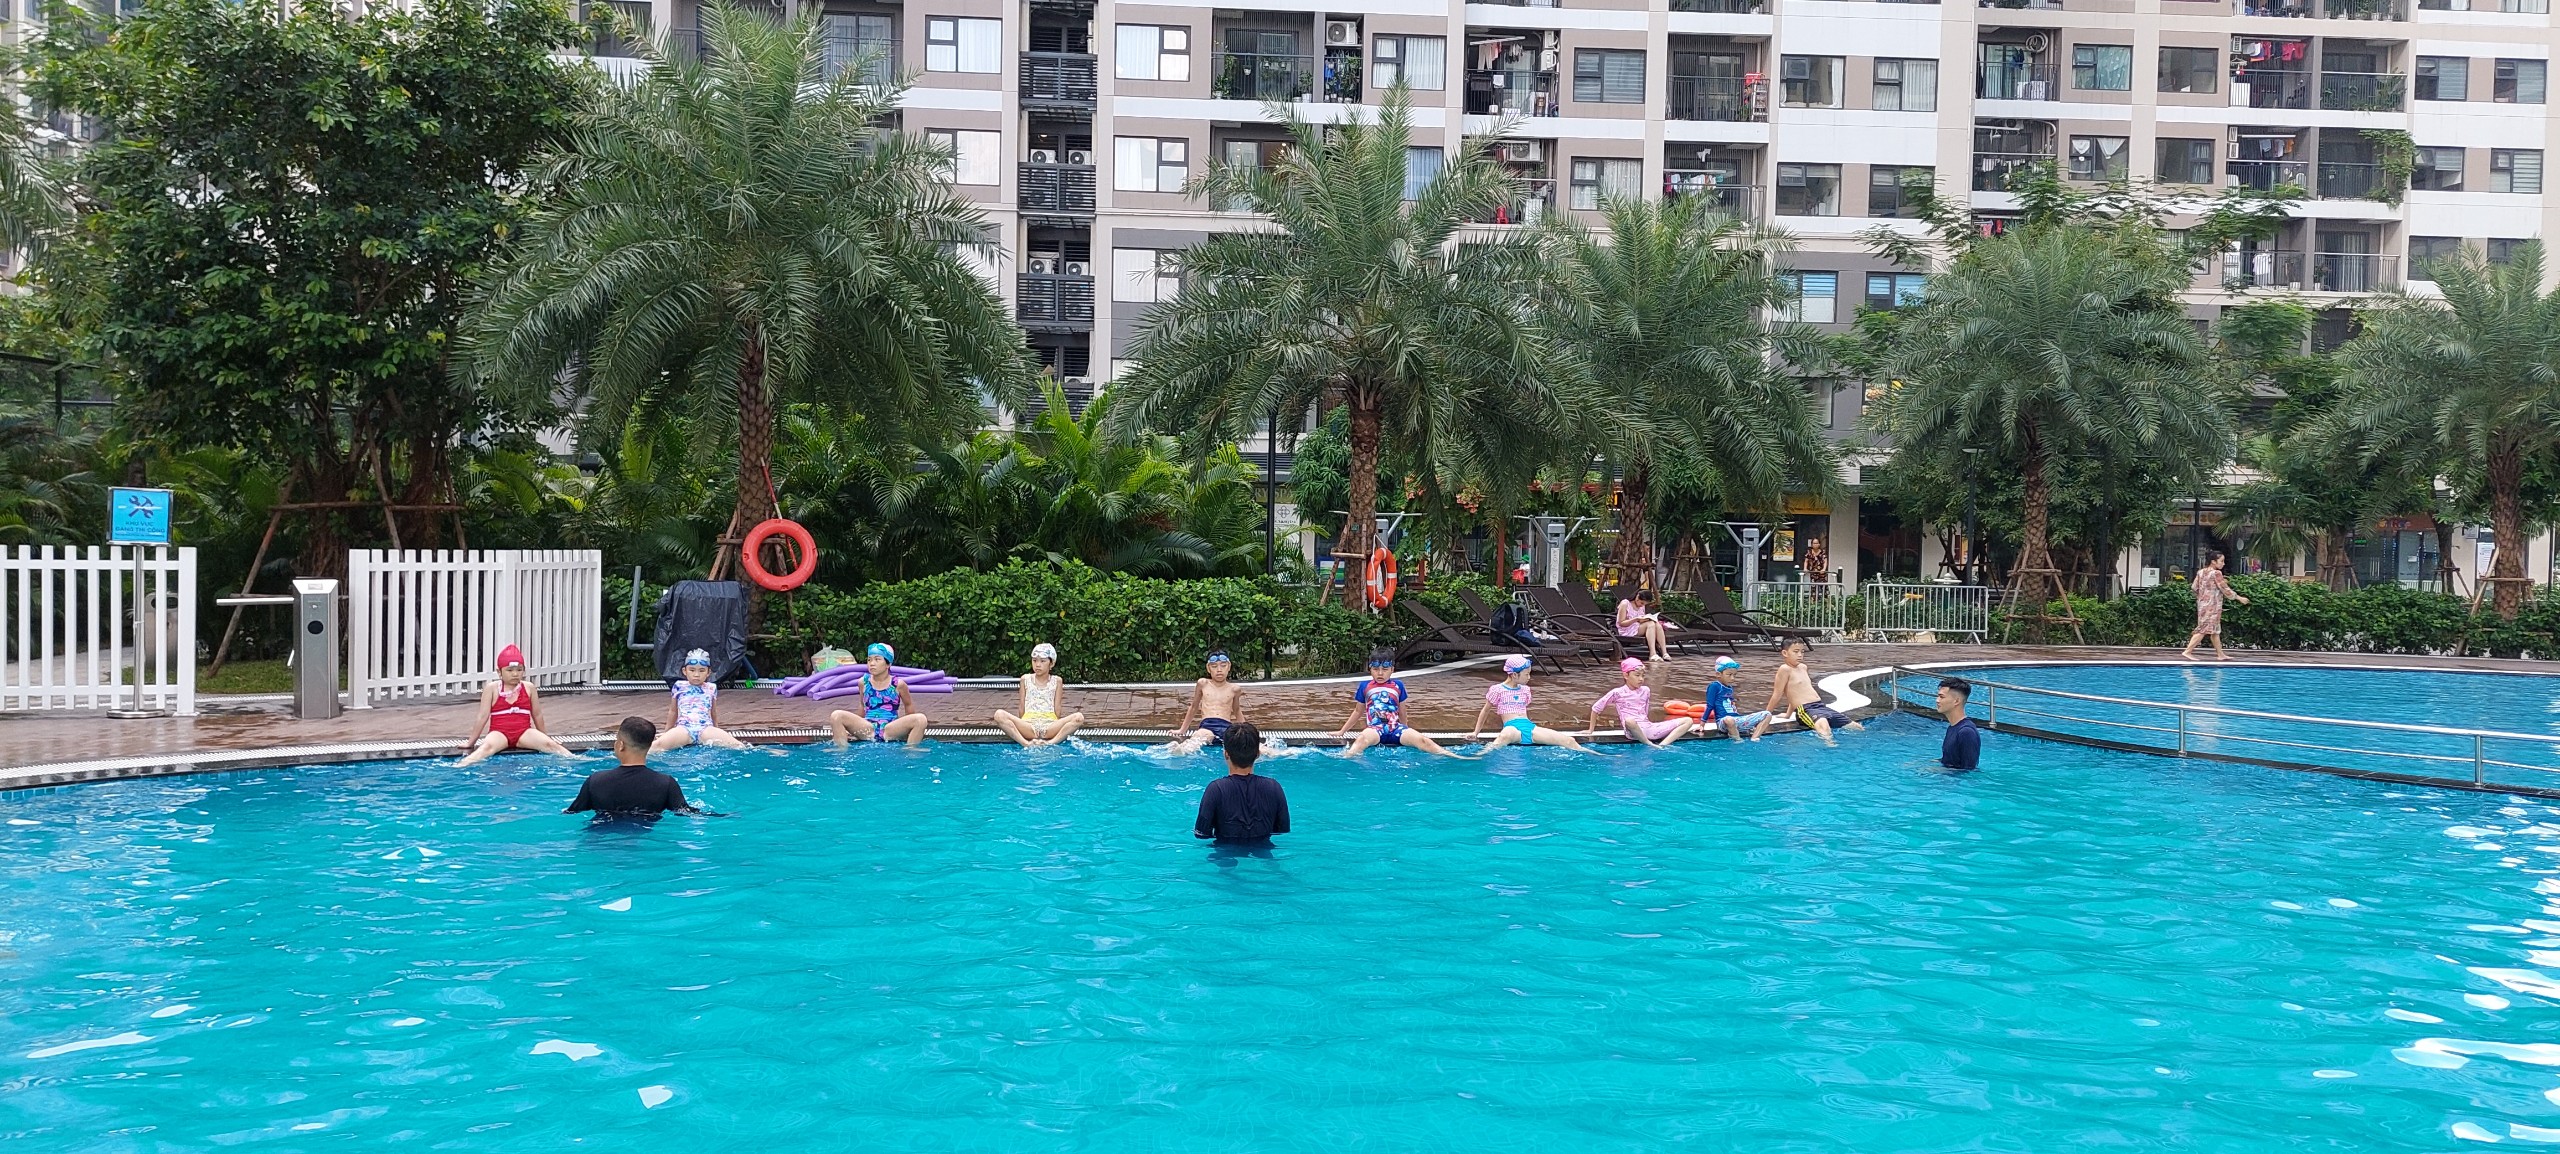
6. Phase 2: In the Pool - Basic Swimming Drills
Once you enter the pool, start by getting used to the environment. Walk around the shallow end, submerge your shoulders, and practice the breathing drills you did at home, using the pool gutter for support.
Practice blowing bubbles underwater, holding your breath for a few seconds, and opening your eyes through your goggles. Your goal is to feel completely relaxed in chest-deep water. Gelling or tensing up is your biggest enemy as it causes you to sink.
7. Relaxing and Streamlined Gliding drills without Floats
Dynamic balance is the ability to float horizontally while gliding forward. Stand with your back against the pool wall, submerge your face, push off the wall, and hold a straight "streamline" position (arms squeezed against ears, legs locked, toes pointed). Glide forward as far as you can without kicking or pulling. Practice this until you can glide smoothly for 3 to 5 meters. This drill teaches you to trust the buoyancy of the water.
8. Step-by-Step Self-Taught Breaststroke
To teach yourself breaststroke, break the stroke down into separate drills. Do not try to coordinate everything at once:
- Kick Drill with Kickboard: Hold a kickboard with hands extended, rest your chest on the water, and practice the whip kick. Focus on drawing your heels slowly and snapping them back forcefully. Pause and glide after every kick.
- Pull Drill with Pull Buoy: Place a float between your thighs to keep your legs buoyant, and focus entirely on your arm pull and breathing. Sweep outward, scoop inward, raise your chin to inhale, and drive forward.
- Full Coordination: Slowly combine the two. Remember the sequence: *Pull, breathe, kick, glide.* Never kick while pulling, and never pull while kicking. Use the glide phase to rest and slide forward.
9. Connecting with the Water: Secrets to Floating Effortlessly
The secret to floating lies in relaxation and lung volume. Your lungs are your natural life jackets. When they are filled with air, you will float. When you exhale, you sink. When floating, maintain a shallow breathing pattern: take a quick inhale, hold it, and perform a quick exhale. Relax your neck muscles and lay your head back so your ears are submerged. If you raise your head to look at your toes, your hips will immediately sink.
10. Common Mistake Fixes: Why Do Your Legs Keep Sinking?
The most common beginner complaint is: *"My head is above water, but my legs are sinking like stones."* This is caused by posture. Lifting your head too high out of the water creates an angled body position, pushing your chest up and forcing your hips and legs down. To fix this, look straight down at the pool floor. Keep your head aligned with your spine. When breathing, raise your chin just enough to clear your mouth, and submerge your head immediately after inhaling.
11. Emergency: Handling Choking and Swallowing Pool Water
Choking on water happens to everyone. If you swallow water and begin to choke, do not panic. Panic causes you to gasp, which can draw more water into your lungs. Keep your feet on the pool floor. Grab the pool edge, stand up, and cough the water out. Take slow, deep breaths through your mouth. Wait until your breathing is completely calm before restarting your drills.
12. Emergency: Coping with Muscle Fatigue and Cramps
Muscle cramps (usually in the calf or foot) are caused by cold water, dehydration, or fatigue. If you experience a cramp in deep water, roll onto your back into a back float. Relax your body and float. Grab your toes on the cramped leg and pull them toward your shin to stretch the calf muscle. Call for the lifeguard or swim slowly to the side using only your arms.
13. Using Life Jackets and Floats Correctly
Float aids are great for building confidence, but they can become crutches if used incorrectly. Avoid using bulky life jackets that force you into a vertical position, as this builds bad habits. Instead, use a waist-strap back float or a noodle float, which allows you to maintain a flat, horizontal position. Gradually reduce the buoyancy (e.g., removing layers of the back float) as you get more comfortable.
14. Video Analysis: Be Your Own Swim Coach
Since you don't have a coach, use your phone. Ask a friend or use a tripod to record a video of your swim from both side and front angles. Compare your video with professional tutorial videos. Check your head position, your leg kick width, and your stroke timing. You will easily spot mistakes that you couldn't feel while in the water.
15. Swim For Life Solutions If Self-Learning Stalls
If you have spent weeks practicing but find yourself sinking, struggling to breathe, or getting exhausted after 15 meters, your technique has likely stalled. Don't worry, this is very common. Working with a professional coach for just a few sessions can break the bottleneck. Our coaches at Swim For Life specialize in correcting technical errors and helping students build a relaxed, efficient connection with the water.